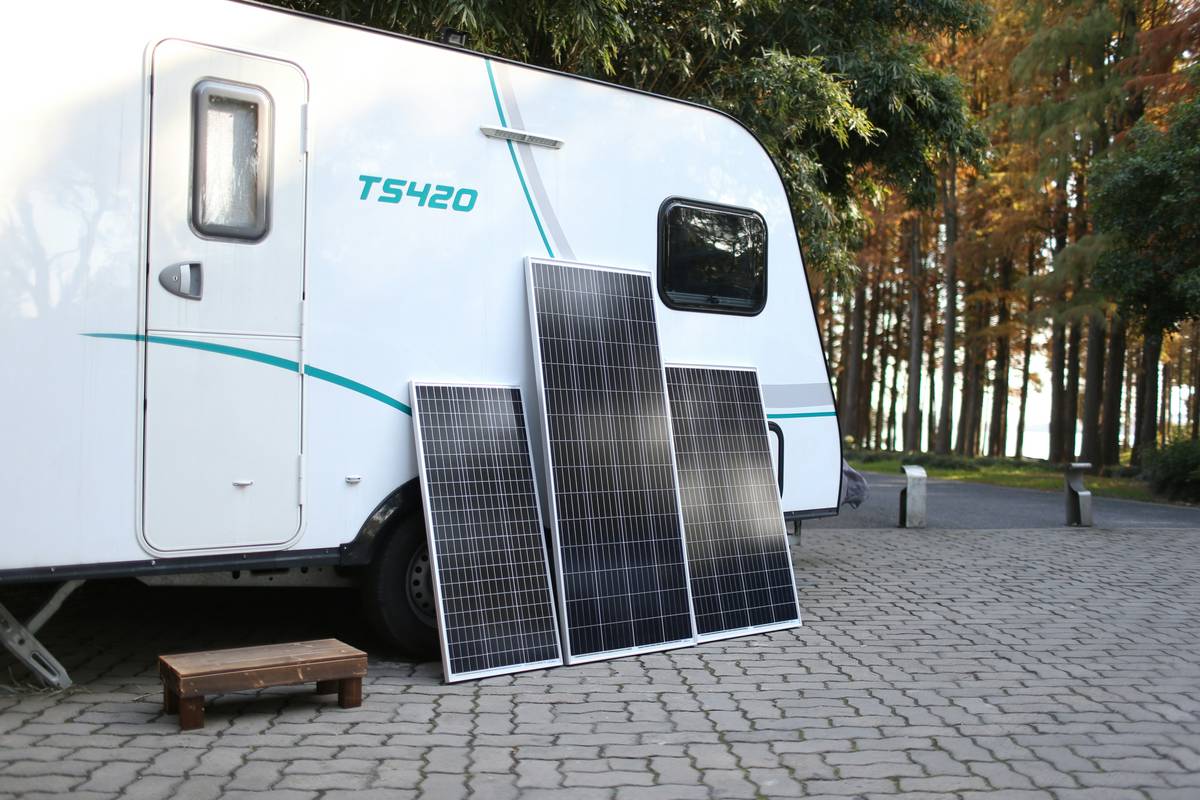
Ever parked your RV in the middle of nowhere only to realize your battery’s dead and your fridge is warm? You’re not alone. Off-grid adventures demand reliable power—and nothing delivers like a well-chosen solar panel for rv camper setup. But with so many options, specs, and myths floating around, it’s easy to waste money or end up stranded. This guide cuts through the noise with battle-tested advice, real mistakes I’ve made (yes, my first panel fried after one rainy week), and data-backed strategies so you stay powered up without blowing your budget.
Table of Contents
- Why RV Solar Panels Are a Game-Changer for Home Improvement Enthusiasts
- Step-by-Step Guide to Installing Your RV Solar System
- Top Best Practices for Maximizing Efficiency
- Real-World Case Study: How One Camper Cut Generator Use by 90%
- Frequently Asked Questions
Key Takeaways
- A properly sized solar panel for rv camper system can eliminate generator dependency in moderate climates.
- Mismatched components (panels, charge controllers, batteries) are the #1 cause of system failure.
- Rigid monocrystalline panels outperform flexible ones in efficiency and longevity for most users.
- Always calculate daily energy needs before buying a single watt of solar.
- Proper tilt and cleaning boost output by up to 25%—don’t ignore maintenance.
Why RV Solar Panels Are a Game-Changer for Home Improvement Enthusiasts
Home improvement isn’t just about your house—it extends to your mobile living space too. For RV owners, upgrading to solar means quieter campsites, zero fuel costs, and freedom from noisy generators. According to the U.S. Department of Energy, recreational vehicles equipped with solar systems see up to 70% reduction in fossil fuel consumption during off-grid stays. That’s both eco-friendly and wallet-friendly.
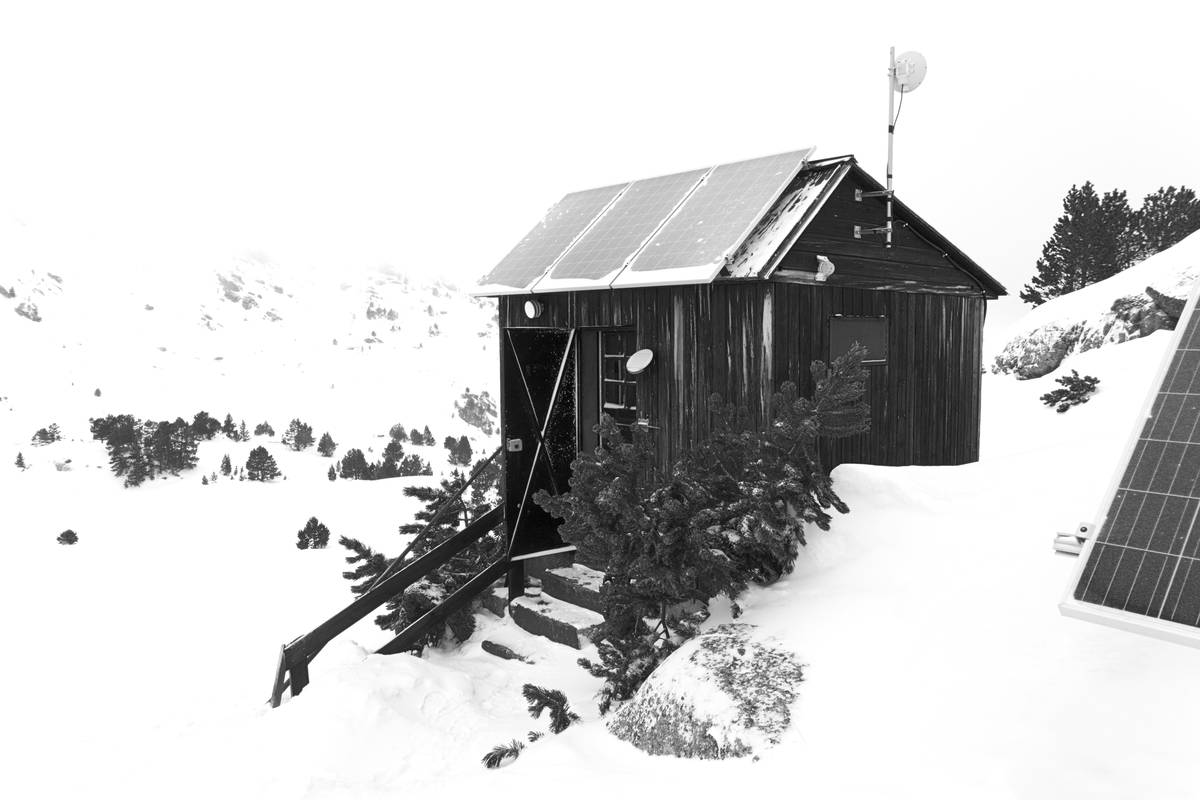
But here’s the painful truth: I once bought the cheapest “RV-ready” panel on Amazon, slapped it on my roof, and called it a day. Two weeks later, rain seeped into poorly sealed junction boxes, and the whole thing shorted out. Lesson learned: solar isn’t plug-and-play. It demands thoughtful integration—part of why this niche sits squarely under home improvement: it’s about smart, durable upgrades that enhance livability.
Step-by-Step Guide to Installing Your RV Solar System
1. Audit Your Power Needs
List every device you use (fridge, lights, CPAP, etc.), note wattage and average runtime. Multiply watts × hours = watt-hours per day. Add 20% buffer for inefficiencies. Tools like the DOE’s appliance energy calculator help.
2. Choose Panel Type
Monocrystalline panels offer 20–23% efficiency and last 25+ years—ideal for limited roof space. Polycrystalline is cheaper but bulkier. Flexible panels look sleek but degrade faster; avoid them unless roof curvature demands it.
3. Size Your System
Divide daily watt-hours by average sun hours in your region (check NREL’s solar maps). Result = minimum panel wattage needed.
4. Install Components
Mount panels securely with marine-grade brackets. Run wires through existing roof vents to avoid leaks. Pair with an MPPT charge controller—it boosts harvest by 15–30% over PWM types. Connect to lithium (LiFePO4) batteries for best cycle life.
Top Best Practices for Maximizing Efficiency
- Tilt panels seasonally: Angle = your latitude ±15° (summer minus, winter plus).
- Clean monthly: Dust and bird droppings can slash output by 25% (NREL study).
- Never skip fusing: A $5 fuse prevents $500 fires.
- Avoid this terrible tip: “Just daisy-chain panels.” Mismatched voltages fry controllers. Series/parallel must match specs.
- Monitor daily: Use Bluetooth-enabled controllers to catch dips early.
And please—stop obsessing over “max wattage.” A 400W system poorly installed performs worse than a 200W optimized one. Efficiency beats raw power every time.
Real-World Case Study: How One Camper Cut Generator Use by 90%
Meet Dave, a full-time RVer traveling the Southwest. His old setup: 200W flexible panels, PWM controller, lead-acid batteries. He ran his generator 4 hours nightly. After switching to 320W rigid monocrystalline panels, an MPPT controller, and LiFePO4 batteries, his generator use dropped to 20 minutes weekly—only during extended cloudy stretches. Total investment: $1,200. Payback in fuel savings: under 18 months. His secret? He calculated needs first, bought quality second, and installed meticulously. Learn more about our team’s hands-on approach on our About Us page.
Frequently Asked Questions
Can I run an air conditioner with a solar panel for rv camper?
Generally, no. Most rooftop AC units draw 1,500–2,000W—far beyond typical RV solar setups (usually 200–600W). Consider mini-split DC units or park at powered sites for extreme heat.
How many solar panels do I need for basic RV use?
For lights, fridge, phone charging, and water pump: 200–300W suffices in sunny regions. Add 100W per major extra device (e.g., CPAP).
Are portable solar panels worth it for occasional campers?
Yes! They offer flexibility without roof modifications. Just ensure they include a compatible charge controller.
Do solar panels work on cloudy days?
Yes, at 10–25% capacity. Modern panels still harvest diffuse light—critical for Pacific Northwest travelers.
What’s the biggest mistake new buyers make?
Overspending on panels while skimping on batteries or controllers. Balance your system—or it fails.
Where can I get personalized advice?
We specialize in custom RV solar solutions. Reach out anytime via our Contact Us page. And rest assured—your data stays protected per our Privacy Policy.
In the end, a solar panel for rv camper isn’t just gear—it’s your ticket to silent forests, starlit nights, and true independence. Get it right, and you’ll never hear a generator roar again. Sun’s up—get charged.