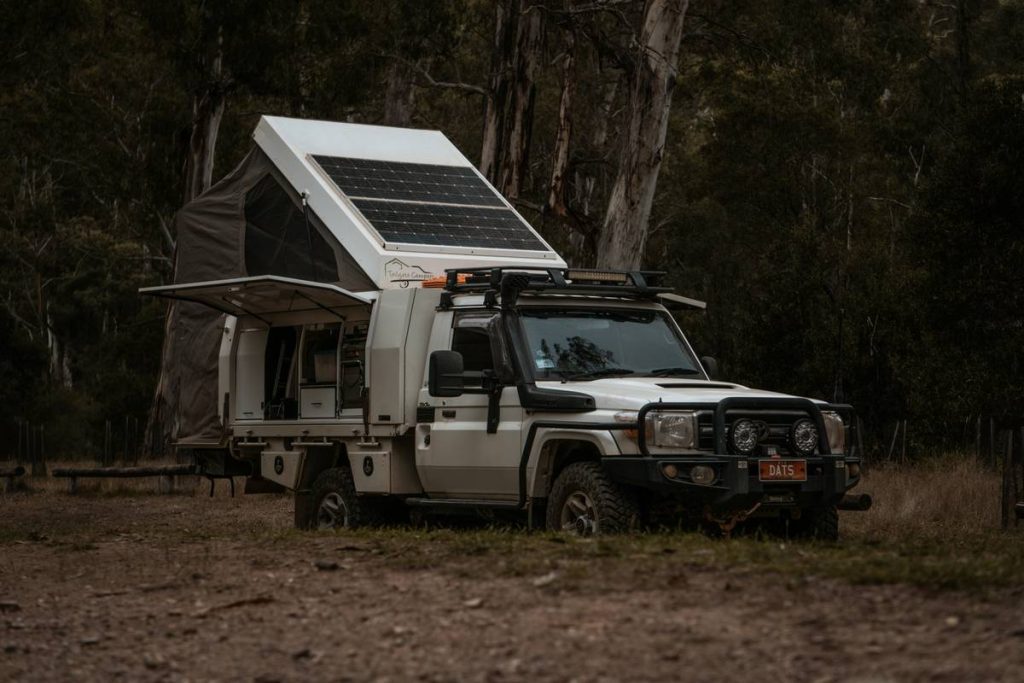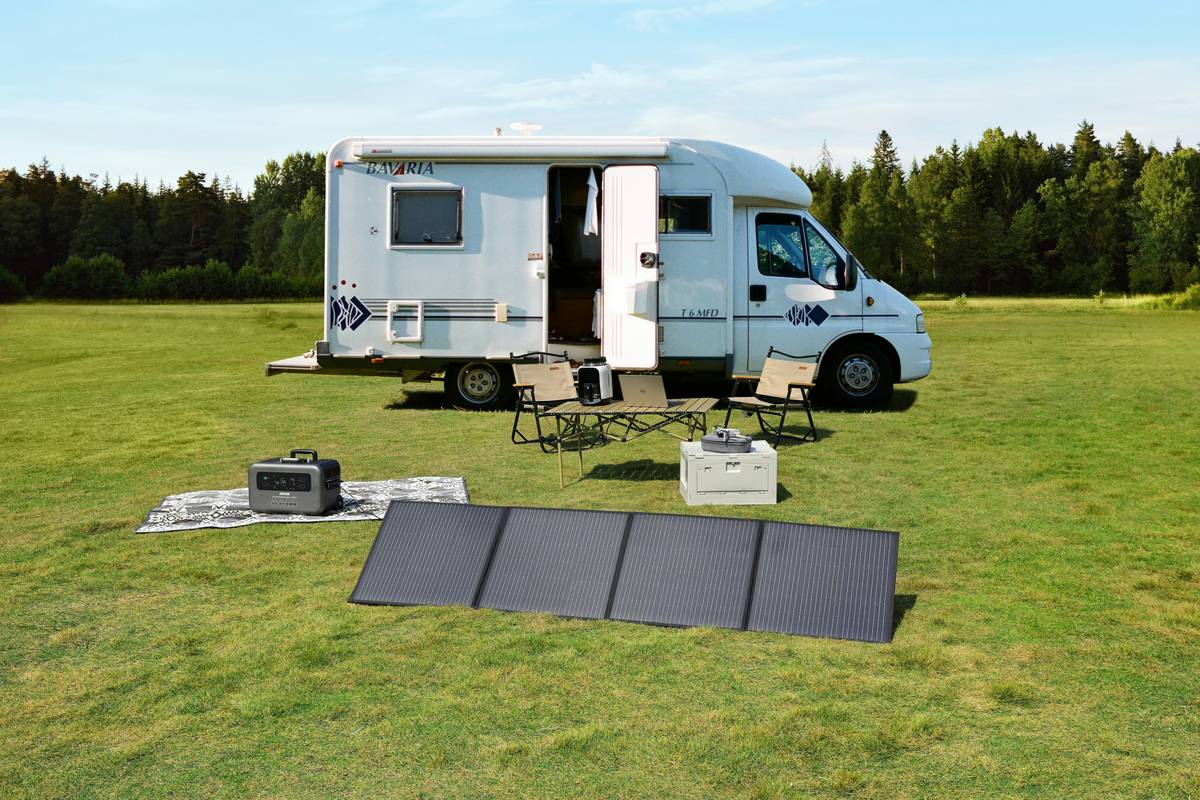
Ever been stranded in the middle of nowhere with a dead fridge, no lights, and a phone at 3%? You’re not alone. For RVers, reliable off-grid power isn’t just convenient—it’s survival. That’s why choosing the right solar panels and batteries for rv setup can mean the difference between a peaceful weekend under the stars and a stressful scramble for the nearest campground outlet. In this guide, we’ll walk you through everything you need to know—from sizing your system to avoiding rookie errors I learned the hard way.
Table of Contents
- Why Your RV Needs Smart Solar Power
- Step-by-Step RV Solar Installation Guide
- Proven Best Practices for Long-Term Reliability
- Real RV Solar Success Stories
- Frequently Asked Questions
Key Takeaways
- Your daily energy needs dictate panel wattage and battery capacity—not your roof size.
- Lithium batteries cost more upfront but last 3–5× longer than lead-acid alternatives.
- Shading just one panel can cut your entire array’s output by up to 50%—placement is critical.
- A proper charge controller prevents overcharging and extends battery life significantly.
- Regular maintenance checks prevent silent failures that leave you powerless days into a trip.
Why Your RV Needs Smart Solar Power
Most RV owners assume their alternator or shore power will cover all energy needs. But boondocking (dry camping) is where true freedom lives—and that requires independence from the grid. According to the RV Industry Association, over 60% of full-time RVers rely on some form of solar power for basic operations like refrigeration, lighting, and device charging.
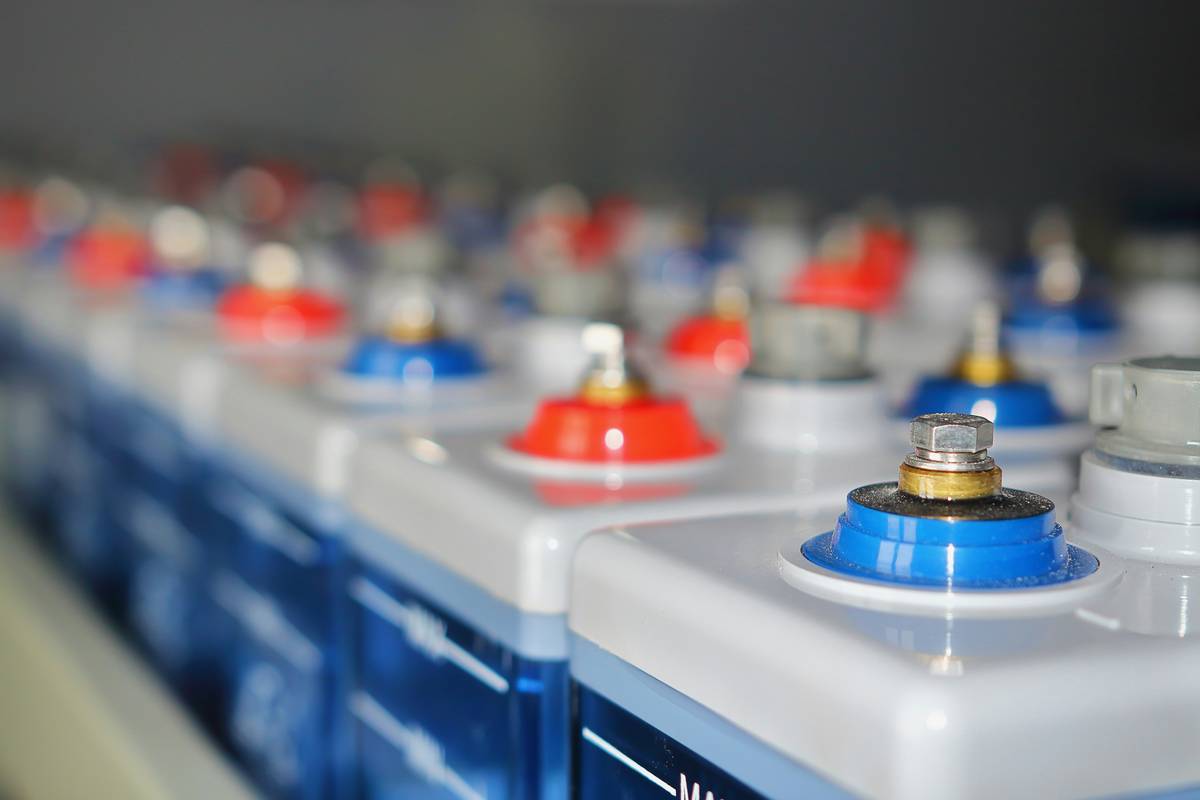
I made a painful mistake on my first long-term trip: I bought cheap, mismatched panels from a discount retailer and paired them with an old flooded lead-acid battery. By day three in Utah’s red rock country, the whole system failed. No coffee. No fan. Just me, my dog, and 108°F heat. Don’t be like past-me. The right solar panels and batteries for rv combo is non-negotiable for comfort and safety.
Step-by-Step RV Solar Installation Guide
1. Calculate Your Daily Energy Use (in Watt-Hours)
List every appliance you’ll run daily—fridge, fan, lights, laptop—and multiply each by hours used. Add them up. Example: A 50W fridge running 6 hours = 300Wh. Most RVs need 800–2,000Wh per day.
2. Size Your Battery Bank
Divide your total watt-hours by your battery voltage (usually 12V). For 1,200Wh, you’d need a 100Ah battery. But never discharge lead-acid below 50%—so double that capacity. Lithium (like LiFePO4) can safely use 80–90%, so you can downsize slightly. The U.S. Department of Energy’s guide to residential solar offers solid baseline principles applicable to mobile setups.
3. Choose Your Panels
Monocrystalline panels offer the highest efficiency (20–23%) and perform better in partial shade—ideal for limited RV roof space. Aim for at least 200–400W total, depending on your load.
4. Install a Proper Charge Controller
PWM controllers are cheaper but MPPT types boost efficiency by 20–30%, especially in cloudy conditions. Always match controller amperage to your array’s max output.
5. Wire It Safely
Use appropriately gauged cables, fuses near the battery, and weatherproof connectors. One loose connection caused my early system failure—learn from my error.
Proven Best Practices for Long-Term Reliability
- Clean panels monthly: Dust and bird droppings reduce output by up to 25% (NREL study).
- Angle panels seasonally: In winter, tilt toward the sun for 15–30% more harvest.
- Avoid mixing old and new batteries: It stresses the entire bank and shortens lifespan.
- Monitor voltage daily: A sudden drop often signals a failing cell before total collapse.
- Never skip the inverter spec check: Pure sine wave is essential for sensitive electronics like CPAP machines.
And here’s a terrible tip I’ve heard too often: “Just duct-tape extra panels to the roof!” Nope. Poor mounting leads to wind damage, leaks, and fire hazards. Secure, sealed brackets aren’t optional.
Real RV Solar Success Stories
Sarah and Mark, full-time travelers in a 28-foot Class C, upgraded from a 100W panel with a 60Ah lead-acid battery to a 320W monocrystalline system with a 200Ah lithium bank. Result? They now run an air conditioner intermittently, a microwave, and two laptops—all while boondocking for 10+ days straight. Their secret? Precise load calculation and professional wiring (they consulted our team at Infiniy Auto’s experts).
Another example: A survey by Escapees RV Club found that RVers using properly sized solar panels and batteries for rv reported 92% fewer unplanned stops for power, saving an average of $220/month on campground fees.
Frequently Asked Questions
How many solar panels do I need to run an RV fridge?
A typical 12V compressor fridge uses 30–60W. Running 8 hours/day needs ~400–500Wh. A single 200W panel (with 4 peak sun hours) generates 800Wh—enough for the fridge plus lights and phone charging.
Can I mix lithium and lead-acid batteries in my RV solar setup?
No. Different chemistries charge at different voltages. Mixing them causes undercharging or overcharging, drastically reducing lifespan and creating safety risks.
Do solar panels work on cloudy days for RVs?
Yes—but at reduced output (10–25% of full capacity). MPPT charge controllers help maximize what little sunlight penetrates clouds.
How long do RV solar batteries last?
Flooded lead-acid: 2–4 years with proper care. AGM: 4–6 years. Lithium (LiFePO4): 8–12 years. Always follow manufacturer guidelines—details are in our privacy and product policy documentation.
Should I ground my RV solar system?
Yes, especially if you frequently camp in lightning-prone areas. Grounding protects against surges and static buildup.
Where can I get help designing my system?
We specialize in custom mobile power solutions. Reach out via our contact page for a free consultation.
Bottom line: Great adventures start with great power. Choose wisely, install carefully, and you’ll never ration coffee again. Remember—the goal isn’t just to survive off-grid… it’s to thrive. And with the right solar panels and batteries for rv, you absolutely will.